OzGrind Polished Concrete
07 3177 3367
enquiries@ozgrind.com.au
www.ozgrind.com.au
Pre-Start Guide

Before We Start Your Floor

Thank you for choosing OzGrind. So you know exactly what to expect, here is how your project runs, from your booking through to after the floor is finished. Any questions, call our office on 07 3177 3367 or email enquiries@ozgrind.com.au.

We are excited to work with you on this project. This guide walks through your booking, payments, the works and what happens after completion, so there are no surprises along the way.

1Booking Windows

When you book with us, we may give you a booking window rather than a set date. It is almost impossible for us to lock in a firm start date until a few days beforehand, so the dates we give you early on are tentative and can move for a couple of reasons:

Other works: there may be anywhere from 5 to 40 jobs scheduled before yours, so delays on those sites can shift the overall schedule.

Weather: wet weather delays both internal and external projects. We cannot grind or seal an external floor in the rain, and an internal job that falls a day or two after a rained-out external job may move so we can finish the external one first.

Knowing this up front means a move of a day or two will not catch you out.

2Courtesy Call

To help you plan for our arrival, our office will contact you roughly three weeks before your booking window to keep you posted on how the schedule is running, and to let you flag any delays of your own so we can move your date forward or back.

The day before we start, you will get a courtesy call letting you know what time our tradespeople will arrive to begin.

3Payment

With this guide you will have received a deposit invoice, a 10% deposit plus 40% materials. This needs to be paid as soon as possible to secure your booking. We cannot start until it is paid, so please do this first. If it is left unpaid, you risk your spot being given to another client who has paid in advance.

The final balance invoice is sent on completion with immediate payment terms, so it is due no later than the day after the works finish, unless prior arrangements have been made.

4Additional Costs

These would usually have been discussed at your enquiry or site visit, but here they are so you can prepare.

Generator Hire

Almost all of our grinders run on 32 amp, 5 pin, 3 phase power and our vacuums on 15 amp, 3 pin, single phase power, and we need both running at once. Most homes do not have 3 phase power available, so if we bring a generator it is charged per day and added to your final invoice. Ask the office for an estimate of how many days your project will need.

Skip Bin or Tip Fee

We recommend a skip bin on site for the duration of the works. Our vacuums collect a lot of dust into heavy-duty bags of roughly 30kg each. We can arrange a skip for you (ask for pricing, it depends on the job size), take the bags away for a tip fee, or leave them neatly on site for you to dispose of.

Hand Grinding

Any extra hand grinding (stairs, concrete faces and risers, tight spaces the stand-up machines cannot reach) is charged per hour and added to your final invoice. If your job needs it, there will usually be a note on your quote estimating the hours. No note usually means none is required, but ask the office if you are unsure.

5The Works
Dust

Our tradespeople are trained in dust control and use dust-specific vacuums, but it is impossible to contain 100% of the dust, so expect some to settle on nearby surfaces. A cloth and a little water will wipe it down. We recommend covering furniture in adjoining rooms with a sheet or plastic to keep it dust-free.

Finished Fittings

Our quotes assume we finish the floors before internal fittings go in (skirting, cabinetry, plaster). Our hand tools only reach 3 to 6mm up to an internal edge, and although we take precautions, some damage can occur during the works. On a new build, allow us on site before any fittings are installed. In an existing home, we recommend removing skirting and cabinetry first.

Furniture

In an existing home, the floor area we are working on must be fully clear of all furniture and fragile objects.

Living in the Home

In an existing home we strongly recommend no one lives, works or stays in the house while we polish the floors. It is too much to get the floors back to a usable condition each day while construction work is under way. On occasion we can make an exception, but additional charges apply.

Stone Exposure

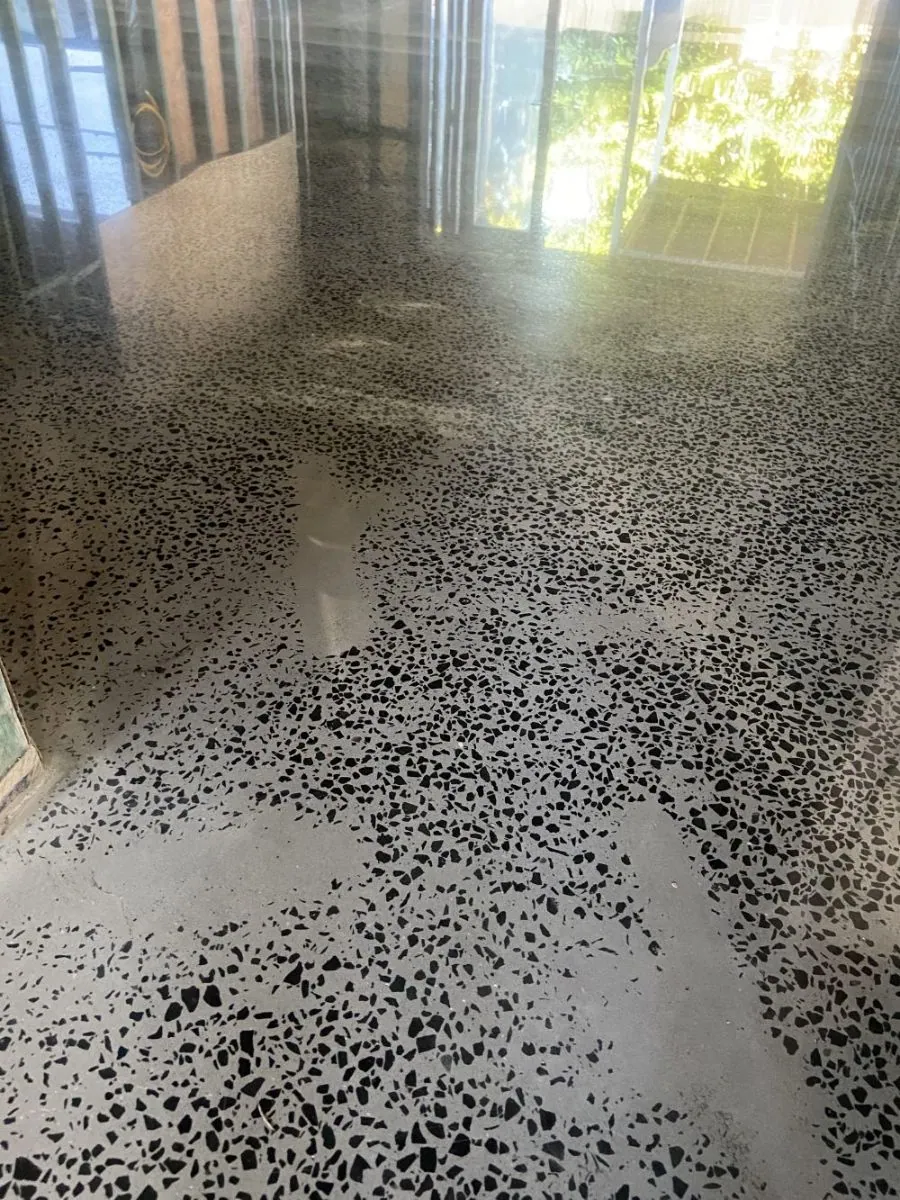
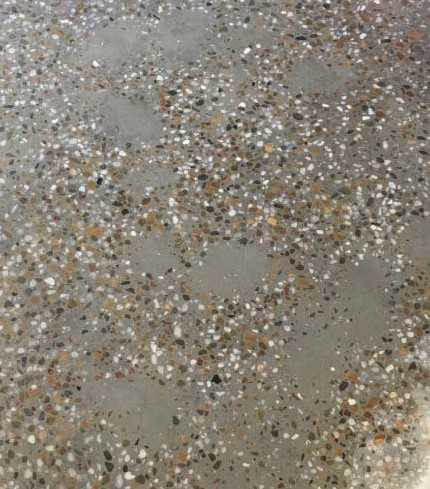
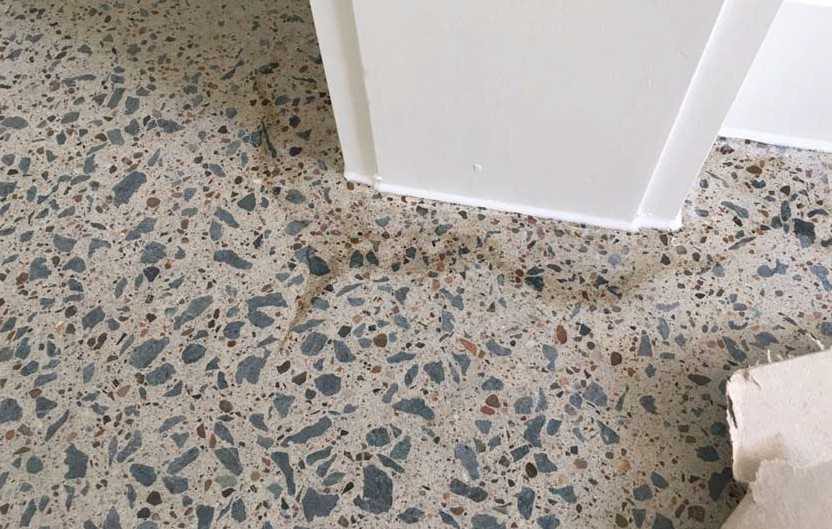
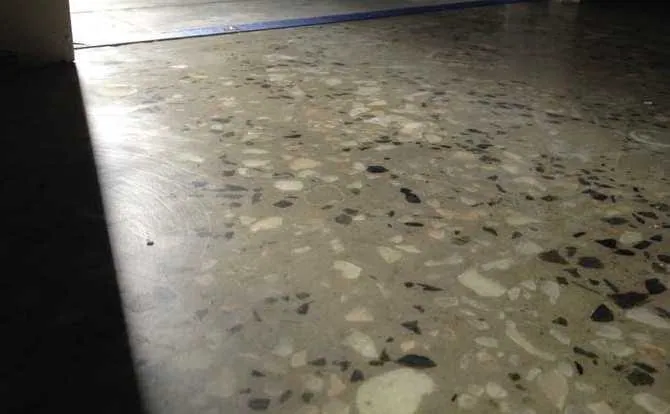
You will have chosen a level of stone exposure when quoting (nil, minimal or full). The look achieved is entirely down to how your concrete and aggregate were placed. High spots expose more stone, low spots may expose none. The less we grind the fewer stones show, the more we grind the more stones show. Nil should expect almost no exposed stone (with slight exposure in places), minimal a random level, and full a consistent, heavier level.

Coatings and Sealers

If your floor has a coating applied, ask us about dry times, as some coatings take up to 72 hours to cure. Always wait at least 24 hours before walking on a newly coated floor, and the longer it is left undisturbed the better it cures. For a coated garage floor, wait 7 days before parking a car back on it.

6After Completion

You will receive the care instructions for your floor with your quote as well as with your final invoice. We send them early because some of the advice is important to know before the invoice arrives, and again on completion so you have them on hand. They explain how to maintain and care for your floor.

Please make sure these care instructions are handed to the home owner or end user.

Our office is here to help with any questions about your floor after it is finished, even months or years later. We pride ourselves on looking after our clients long after the work is done.
Part 2 · Please Read

Polished Concrete Flooring Disclaimer

Thank you for choosing polished concrete, and for choosing OzGrind. Our workmanship and quality are of a high standard, but concrete is a natural product, so some imperfections that are not workmanship defects can appear during our processes. This disclaimer shows you those potential outcomes.

Unlike a tile, polished concrete is not uniform across the slab. Every slab reacts differently, and the result depends on how your concrete was poured and what has happened to it since. Like art, the look is subjective, and under different light some imperfections come and go, which is part of a polished floor's character.

Every floor, even the ones in our best photos, has imperfections up close. That is part of the package. If you need every part of your floor to be perfect, another flooring option may suit you better. Managing expectations from the start is the reason for this disclaimer.

If you have any questions, please contact our friendly office staff on 07 3177 3367 or enquiries@ozgrind.com.au.

Possible Outcomes

Every example on this page is a possible outcome of the concrete itself and how it was poured, finished, cured and protected before we arrive. These are outside OzGrind's control and are not workmanship defects. Some clients feel they add character, others cannot live with them, it comes down to you.
Stone Exposure & Slab Flatness

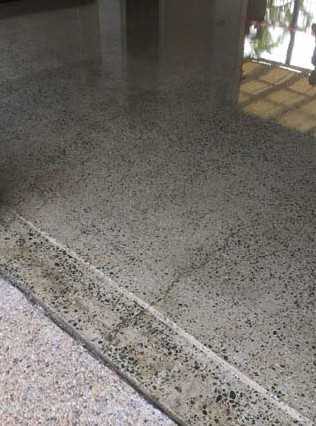
Uneven stone exposure
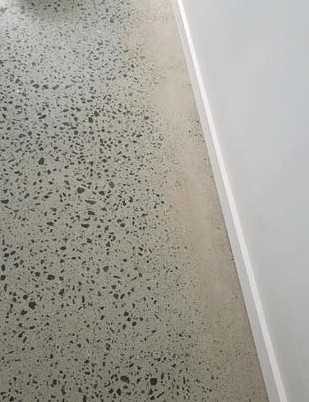
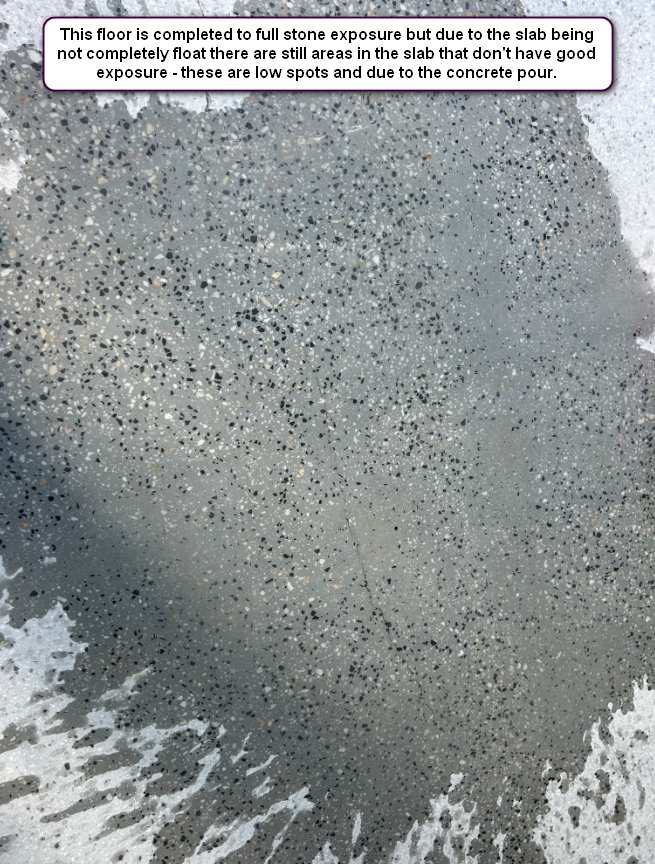
Uneven Stone ExposureExposure that is uneven or not adequate. We quote for nil (1mm), minimum (1 to 3mm) or full (4 to 6mm). If the slab is not poured flat you may request further grinding at a cost, this is due to concrete placement, not OzGrind.
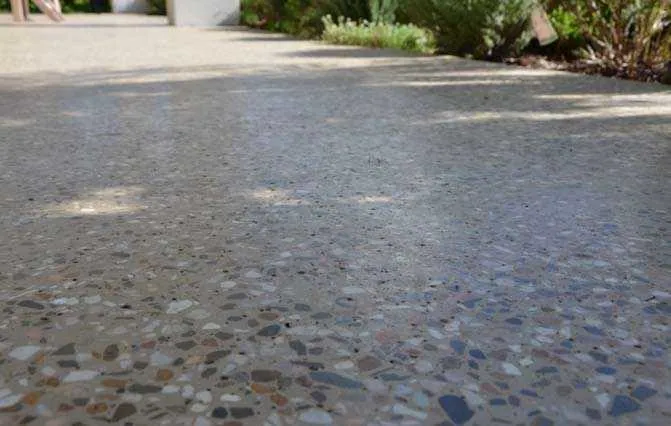
Uneven stone exposure
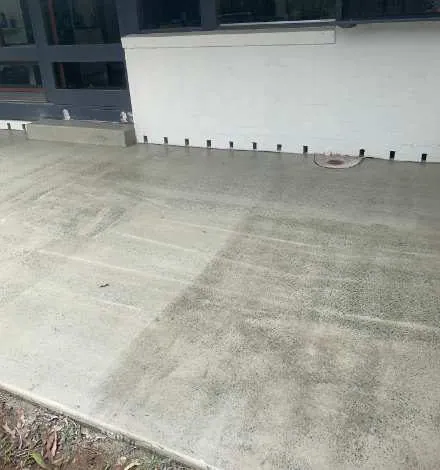
Uneven Stone ExposureAn outdoor example, showing how exposure can vary across the one slab depending on how the concrete was placed.
Low spots / undulations
Low Spots & UndulationsLow spots or undulations in the concrete cause inconsistent stone exposure levels.
High and low spots from a slab not poured flat
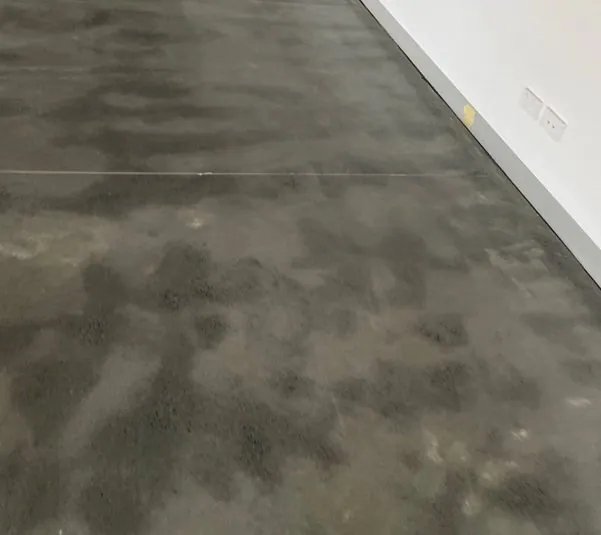
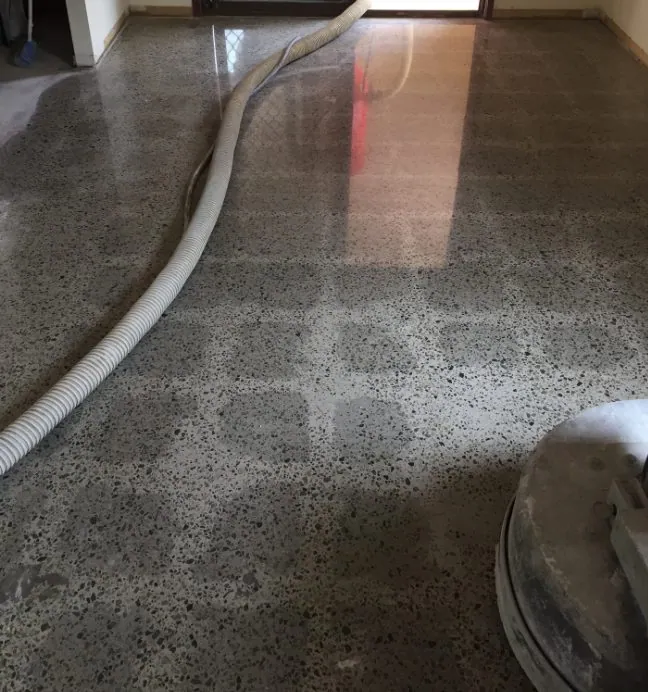
Low Spots & UndulationsHigh and low spots from a slab that was not poured flat, showing as dark and light patches once the floor is ground and polished. This is due to concrete placement, not our grinding.
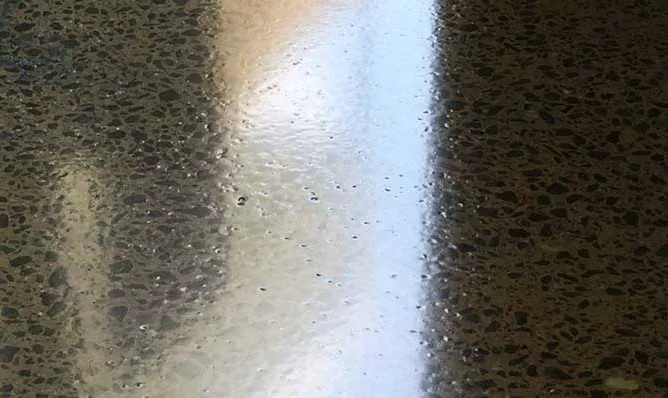
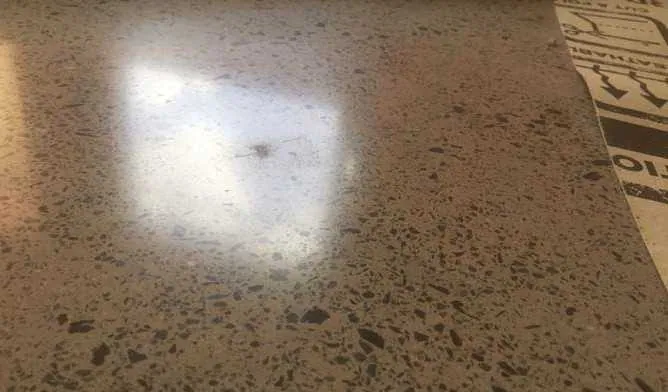
Low spots on a nil exposure floor
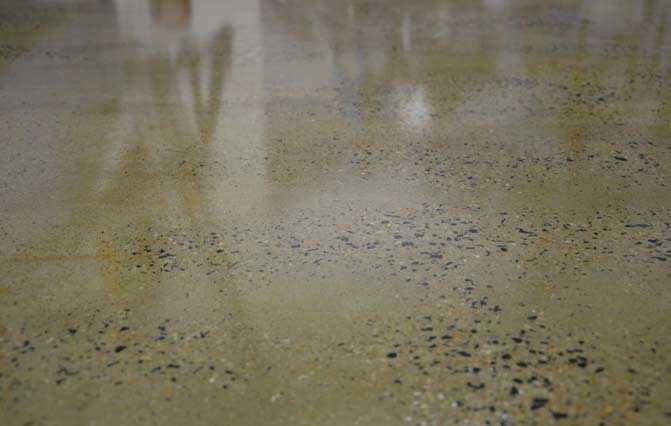
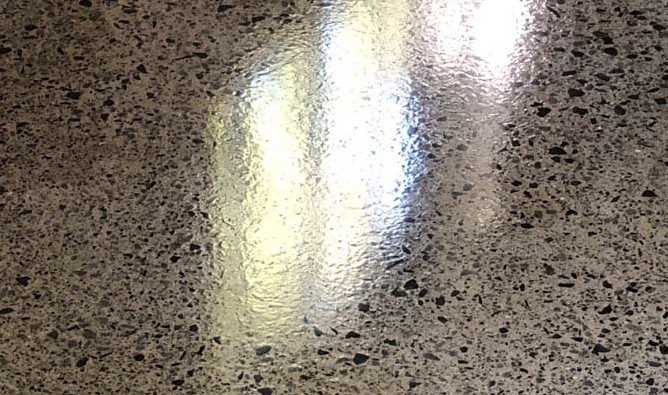
Low Spots on a Nil Exposure FloorOn a nil exposure floor the polish reflects like a mirror, so any low spots or waves in the slab show up in the reflection. Unless the slab is finished to a Class A (superflat) tolerance, some unevenness in the reflection is normal and comes from how the concrete was placed, not our grinding.
Bald edges
Bald EdgesBald edges along walls or slab edges where there is no stone exposure, due to concrete placement and the edges rolling away.

Placement & Finishing Marks

Footprints in wet concrete
Footprints in the SlabFootprints left in the concrete before it set can remain visible after we polish. These come from how the slab was placed, not from our work.
Helicopter / power trowel marks
Helicopter / Power Trowel MarksCloudy swirl marks left by the power float or power trowel when the concrete is worked while still too wet. These can telegraph through after polishing and come from how the slab was finished, not our grinding.
Helicopter / power trowel marks
Helicopter / Power Trowel MarksAnother example of power float or power trowel marks worked into the slab while the concrete was still too wet, showing through the polished surface.
Poor concrete placement
Poor Placement & Screed MarksA grid or crosshatch pattern telegraphing through the polished floor, from crossing screed and float passes combined with uneven placement (for example reinforcing mesh sitting too high). This is set during the pour and finish, not our grinding.
Placement marks
Placement ImperfectionsConcrete placement imperfections such as footprints, helicopter marks and screed bar marks.
Placement and finishing marks
Placement & Finishing MarksA close-up showing how footprints, floating and other placement marks can be worked into the surface during the pour and remain visible after polishing.
Waffle pod break-through
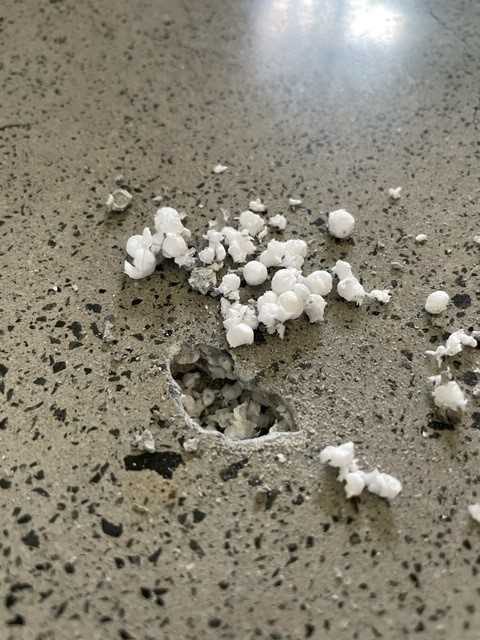
Waffle Pod SlabsWaffle pod slabs may break through your polished concrete. We can repair the holes but they will not match exactly.
Aggregate vs matrix
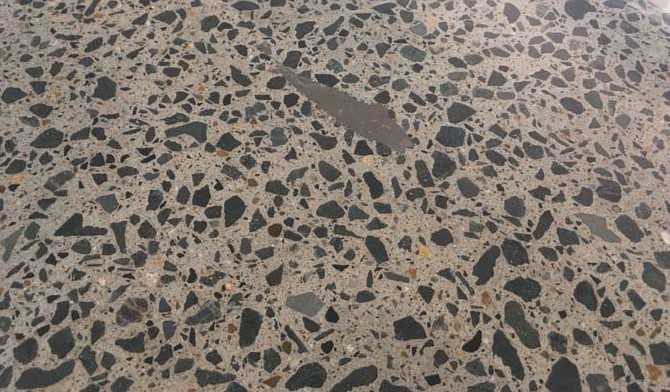
Not Poured for PolishingOn existing concrete not poured for polishing, the aggregate can polish up more than the surrounding cement or matrix.

Cracks, Holes & Repairs

Filled cracks and holes
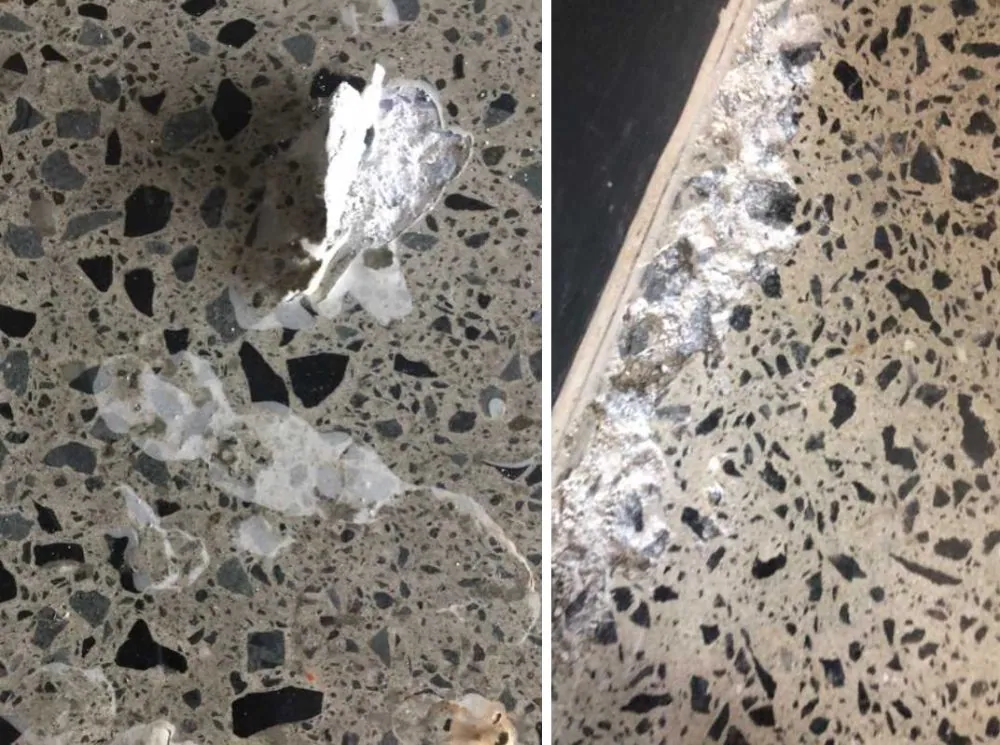
Large Cracks & HolesLarge cracks and holes are hand filled with our repair compound, which does not match the existing concrete.
Filled crack or hole
Large Cracks & HolesAnother example of a large crack or hole hand filled with repair compound, which will not perfectly match the surrounding concrete.
Filled crack to a slab edge
Large Cracks & HolesA filled crack running towards a slab edge, where the repair compound reads a different tone to the polished concrete around it.
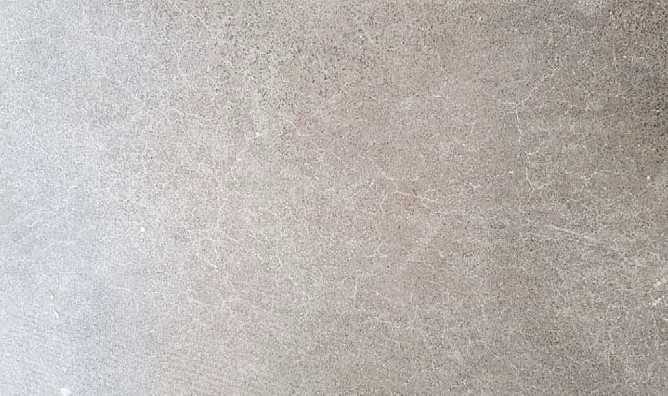
Crazing / shrinkage cracks
Crazing & Shrinkage CracksCrazing and shrinkage cracks are caused by environmental factors such as concrete placement or curing methods.
Pinholes / aeration holes
Pinholes & Aeration HolesPinholes and aeration holes that do not get filled by our grouting process. It is impossible to fill 100%, refer to your quote for the percentage expected.
Pinholes / aeration holes
Pinholes & Aeration HolesAnother example of fine pinholes and aeration holes across the surface that the grouting process cannot fill completely.
Plucked repair compound
Unfilled or Plucked RepairsMinor unfilled holes and cracks, or filled ones where the top layer of repair compound has been plucked out during the final sanding, grinding or polishing steps.
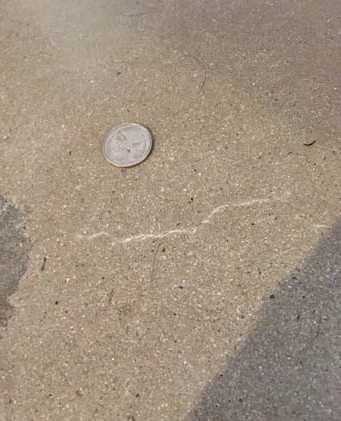
Fine filled crack
Unfilled or Plucked RepairsA hairline crack shown here with a coin for scale, filled and lightly repaired but still faintly visible after polishing.

Discolouration & Stains

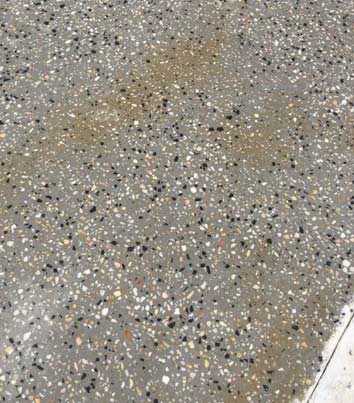
Discolouration
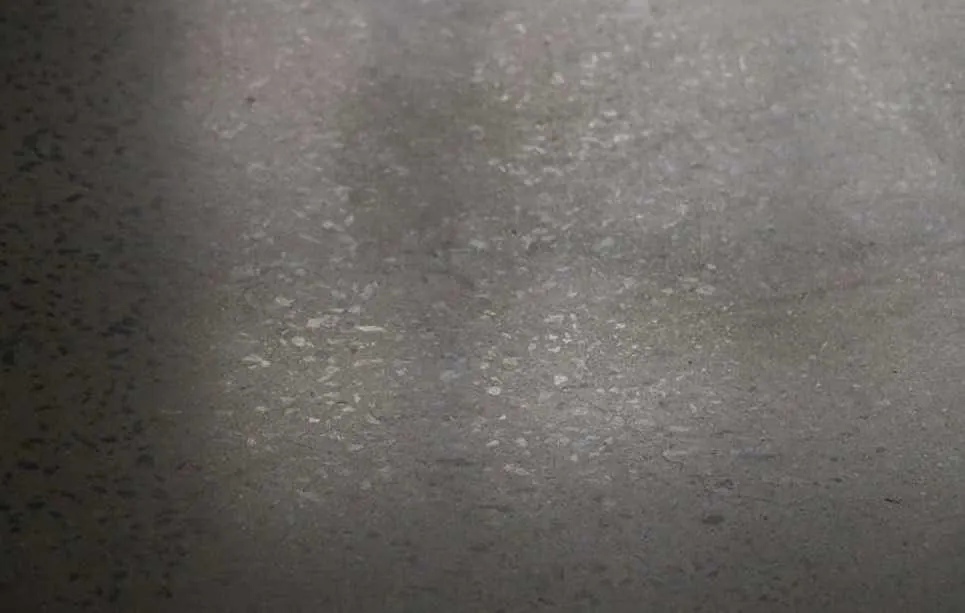
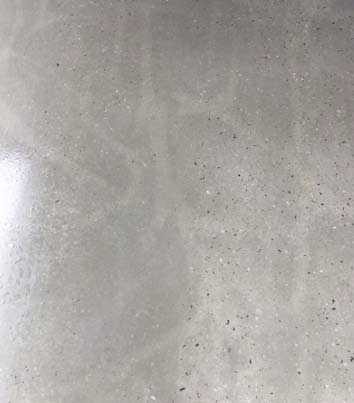
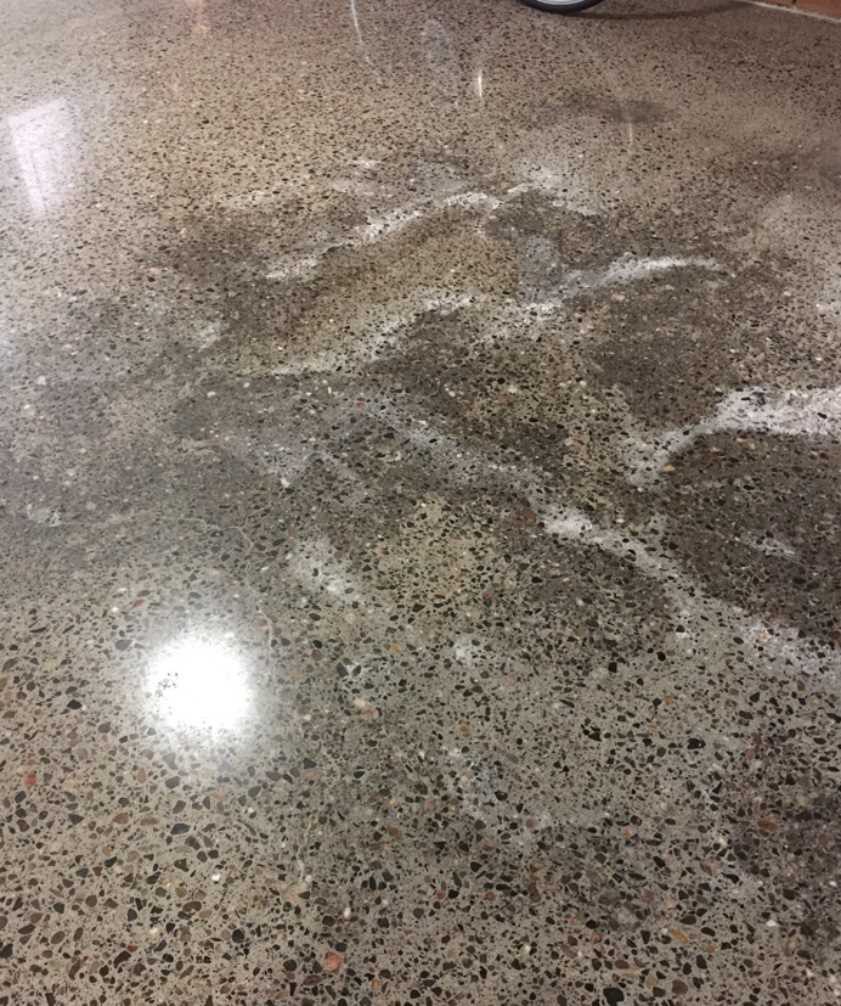
Slab DiscolourationDiscolouration in the concrete slab is not always removed by the grinding process.
Surface discolouration before polishing
Surface Discolouration Before PolishingDiscolouration already present in the slab surface before we start is not always removed by grinding and can remain visible in the finished floor.
Slab discolouration
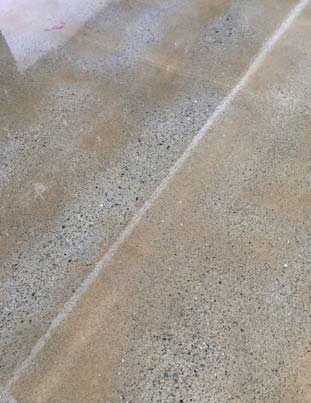
Slab DiscolourationTonal discolouration either side of a control joint or saw cut, which can remain visible after the floor is polished.
Slab discolouration
Slab DiscolourationAnother example of discolouration in the slab, which the grinding process does not always remove.
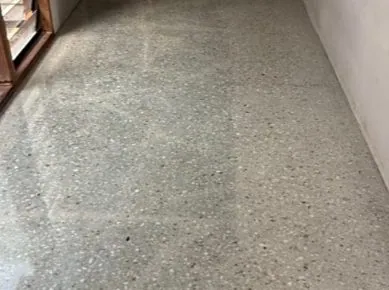
Slab discolouration
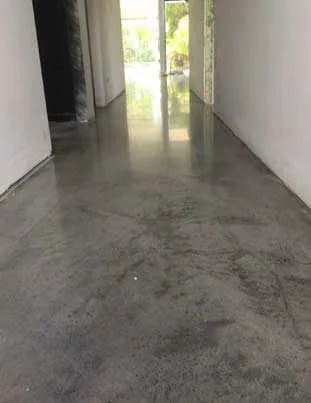
Slab DiscolourationA hallway example, where the slab reads as patchy tonal discolouration under the polished finish.
Pre-existing stains
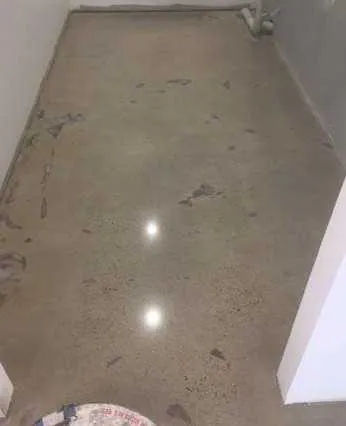
Pre-Existing StainsPre-existing stains such as oil or tile grout are not always removed by the grinding process and may remain visible.

Moisture

Moisture issues
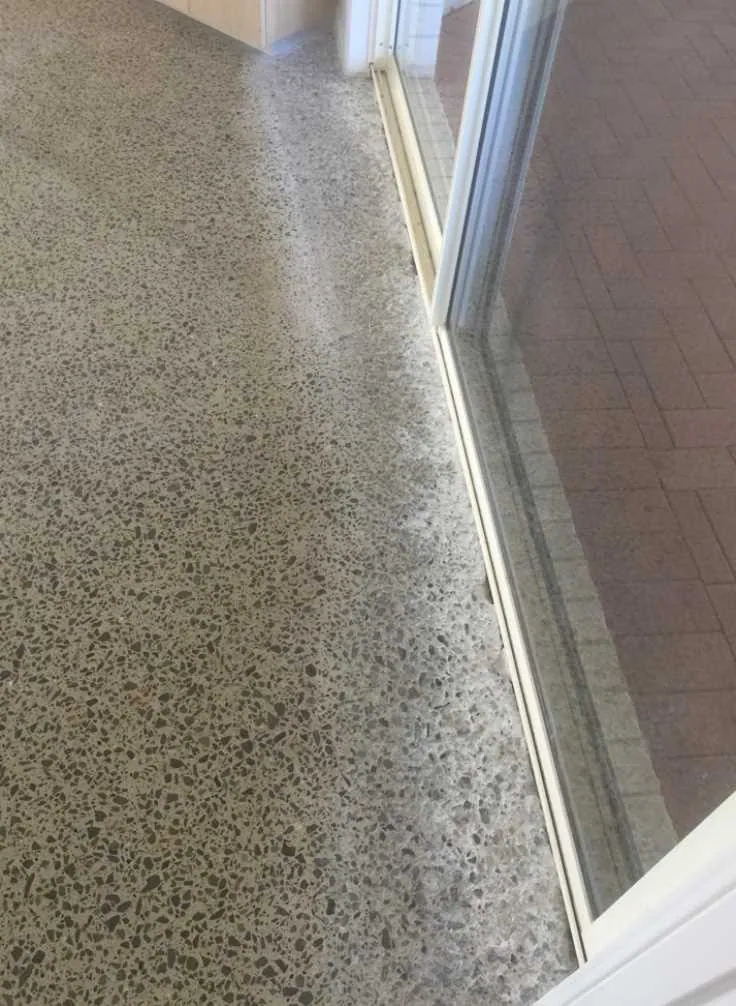
Moisture IssuesMoisture issues can appear years after completion. If moisture is getting into the slab it is no fault of OzGrind, and a specialist is needed to rectify it before we remedy anything cosmetic.
Moisture / efflorescence bursting through coating
Moisture / Efflorescence Bursting Through CoatingMoisture and efflorescence can also push up through a coating, shown here in two ways. If moisture is getting into the slab it is no fault of OzGrind, and a specialist is needed to rectify it before we remedy anything cosmetic.
Moisture near a doorway or edge
Moisture IssuesMoisture drawing in near a doorway or slab edge, showing as a darker damp patch. This is a slab moisture issue to be rectified by a specialist, not our grinding.
Moisture and staining along an edge
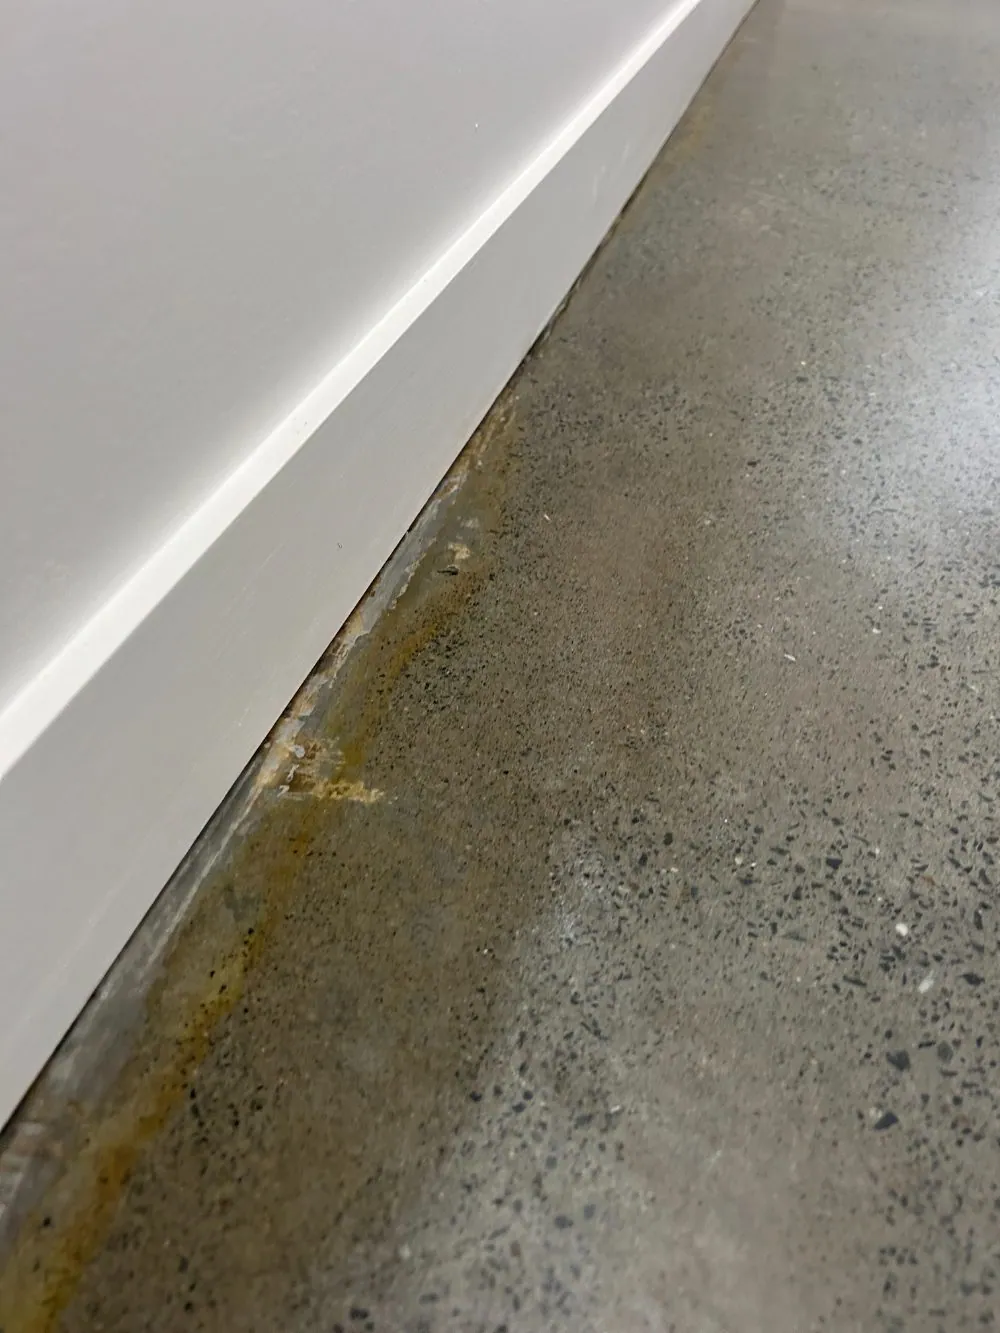
Moisture & StainingMoisture drawing in along a slab edge, bringing rust and mineral staining up through the surface. This is a slab moisture issue for a specialist to rectify, not our grinding.

Coatings & Sealers

Orange peel effect
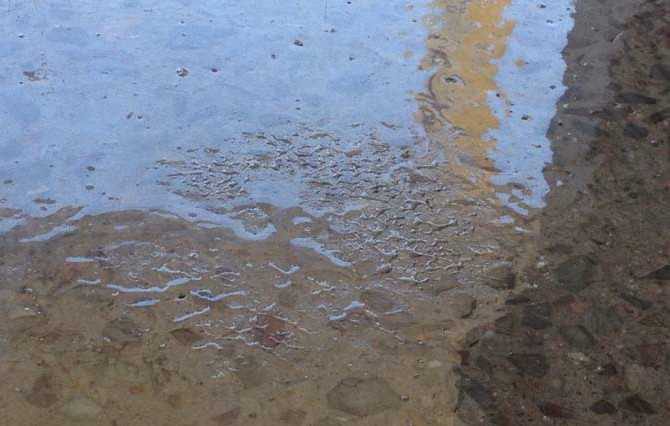
Orange Peel EffectA textured or ripple effect in coatings, also known as the orange peel effect.
Debris in topcoat
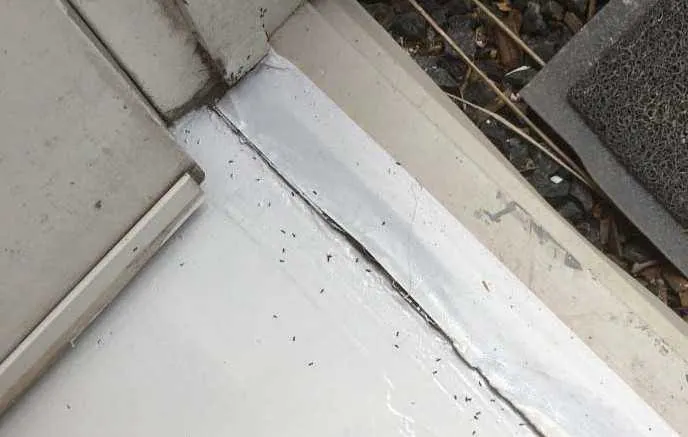
Insects & Debris in the TopcoatInsects, and debris carried in by the wind, can land in the topcoat of a topical sealer on a grind & seal or epoxy floor and set into the finish.
Coating contamination
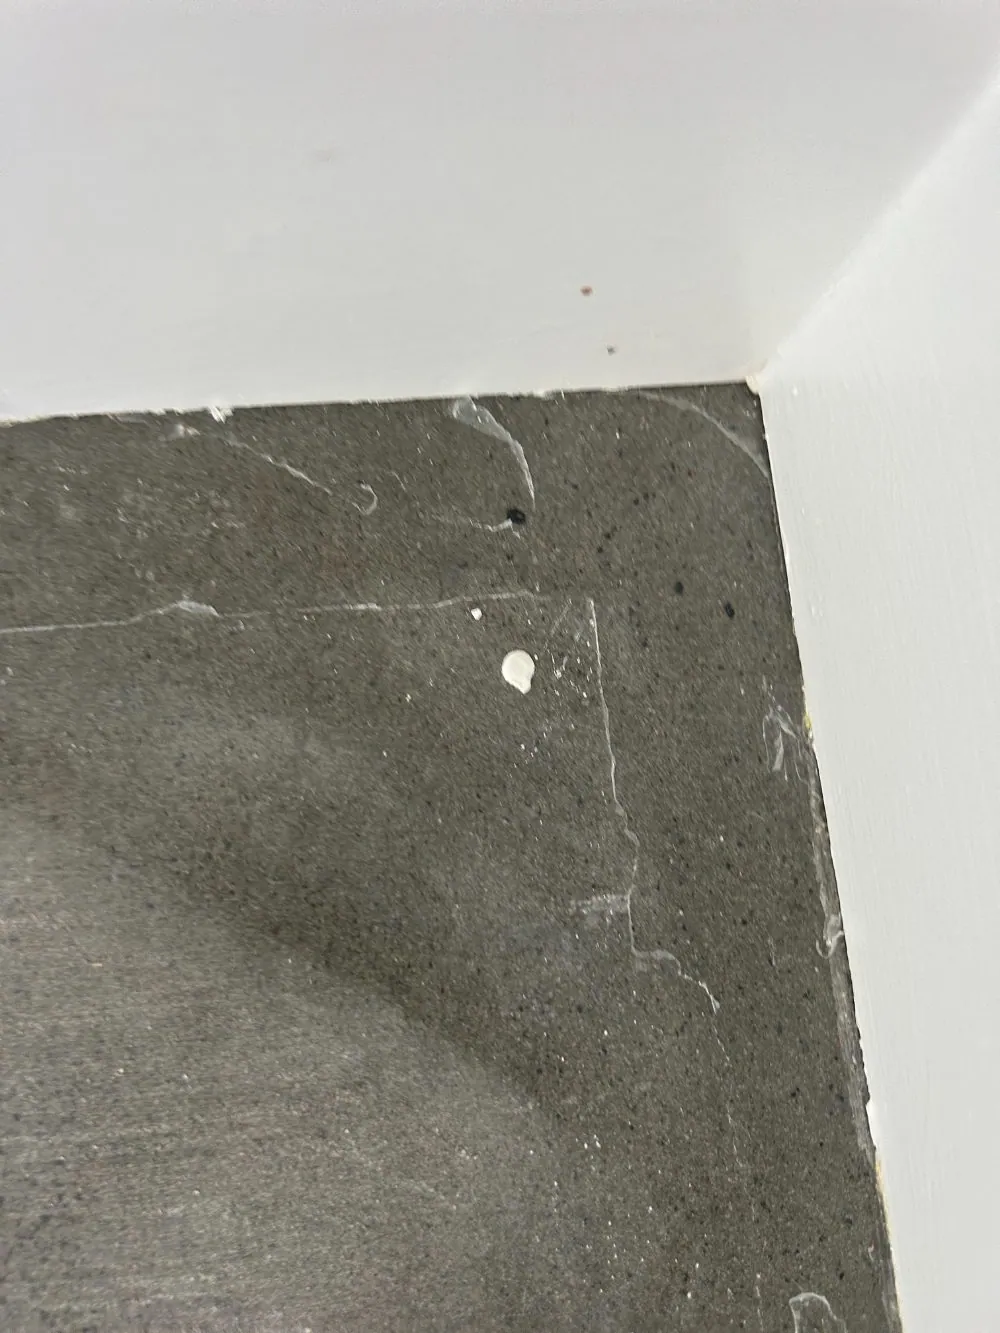
Coating ContaminationContamination or separation of a topical coating, which can occur from a substance pre-existing in your concrete and is something OzGrind cannot be held accountable for.
Tape lifting a coated floor
Warning: Never Tape a Coated FloorOn polished concrete, epoxy and feather finish floors, do not stick painters tape or any tape onto the surface to protect the floor. The tape can bond to the coating or finish and pull it up when it is removed.

Surface Finish & Other

Scratch patterns
Scratch PatternsScratch patterns can still be visible after a honed concrete process and a grind & seal minimum or random stone exposure.
Tile ghosting
Tile GhostingTile ghosting can occur on slabs that previously had tiles. To check the likelihood beforehand, a tile sample can be arranged at a cost.

Signing here confirms you have received, read and understand all content in this document, and that you have also read and understand the important terms and conditions in your quote.

Signed
Dated
Quote #
Call UsGet a Quote